Custom reports in Moodle
Completion requirements
1. Configuring fields
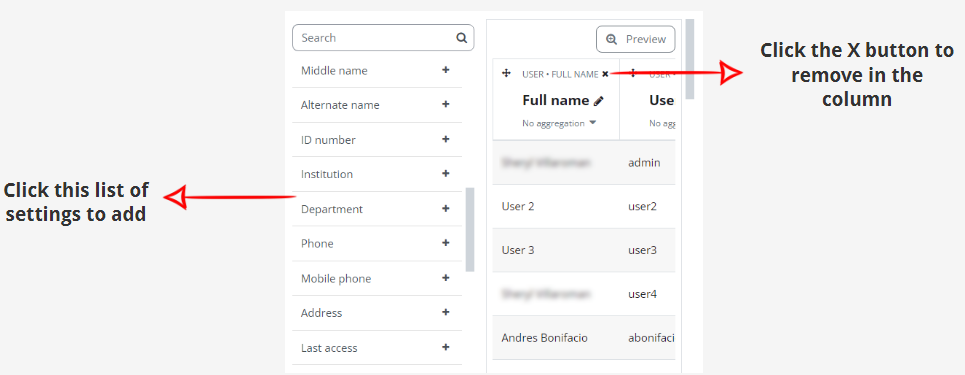
In the left-hand side panel of the report generator, you will see all available fields for the selected report source, which have been grouped into entities. Each entity can be expanded or collapsed for better usability. You can also search for field entries to limit the number of displayed items.
To add columns to the report, click on the selected field in the list on the left. The column will be added automatically as the rightmost column in the table. You can then rearrange the column order via the standard Move handle. To remove a column, click on the standard delete icon.
The following field types are available to be added as columns to a report:
- Text fields: For example, full name, job, or program name. Some text fields are preprocessed by the report generator to support additional functionality:
- Hyperlinked text fields: Mainly to direct viewers directly to entries, for example, to a user profile or a program
- Highlighted text fields: To visualize a status, for example, status fields in programs and certifications
- Calculated text fields: To provide a numeric value, for example, the number of courses in a certification or the course progress for each user as a percentage
- Grouped text fields: To provide multiple data points as a single cell, for example, all users registered for an appointment. The values are available one per line or comma-separated.
- Image fields: For example, program icon or user picture
- Actions: For example, sending a message to a user or viewing a progress report